

Author: Elliott Garber, DVM
Why Fitting Matters
Fitting is the art and science of grooming and preparing a show animal to look its absolute best in the ring. Done well, it highlights an animal’s strengths, minimizes its weaknesses, and demonstrates the exhibitor’s stockmanship. Done poorly, it distracts from the animal and signals inexperience to judges and fellow competitors.
If you have already read our guide to showing cattle, you know the fundamentals of the show ring. This article goes deeper into the preparation that happens before you ever walk through the gate: the daily hair care routine, clipping and blending techniques, breed-specific fitting standards, product selection, and the timeline for bringing a show animal to peak condition.
Before show day, create a profile for your animals on Creatures on Creatures to document their training progress and show preparation.
Whether you are preparing for your first 4-H county fair or campaigning registered breeding stock at a national breed show, the principles of good fitting are the same. The details change by breed and show level, but the goal is always to present a clean, well-conditioned, correctly groomed animal that represents your program at its best.
The Fitting Timeline
3 to 4 Months Before the Show
Fitting starts long before show day. Hair grows in approximately 90-day cycles, so your grooming routine needs to begin at least three months before your target show date.
Remove dead hair first. Before you can grow a new show coat, you need to remove all the old, dead undercoat hair. Use a shedding blade or grooming comb to strip out loose hair. For an August show, aim to have the old winter coat fully removed by mid-May.
Begin the rinse-and-blow routine. Start rinsing and blowing out your animal 1 to 2 times per week. Use the coldest water available, concentrating on the neck and heart girth area for about 20 minutes per session. Cold water cools the blood circulating through major arteries near the skin surface, stimulating the body to grow hair as if winter is approaching. This is the foundation of building a show coat on breeds that are shown with hair.
Hoof trimming. Schedule a hoof trim 45 to 60 days before the show. This gives the animal time to adjust to the trim and walk comfortably. A last-minute trim can leave an animal sore-footed in the ring.
2 Months Before
Increase the rinse-and-blow routine to daily sessions. This is where the real work of training hair begins. Each session follows the same pattern: rinse with cold water, blow dry completely, brush or comb the hair in the direction you want it to lie.
Hair training hack: Some exhibitors work shaving cream into the hair in the desired direction, blow on low heat, leave it overnight, then rinse out in the morning. Repeated daily, this can train stubborn hair patterns within a week.
1 Month Before
Begin clipping practice if you have not already. Clip the animal 7 to 10 days before the show. This allows time for touch-ups and for any mistakes to grow back slightly before show day.
Intensify daily grooming. By this point, you should be rinsing and blowing your animal every day, training the topline hair to stand up and training leg hair to lie correctly.
Show Week
Final clipping and touch-ups. Wash the animal thoroughly 1 to 2 days before the show with livestock shampoo. Allow adequate drying time, especially for long-coated breeds.
Show Day
Allow 45 minutes to 1.5 hours for final fitting, depending on the breed and level of preparation. This is where adhesives, touch-up products, and final grooming bring everything together.
The Daily Rinse-and-Blow Routine
Why Cold Water Matters
Cold water is the single most important tool in building a show coat on breeds that are shown with hair (most beef breeds except slick-shorn market steers). Cold water cools the skin and signals the hair follicles to produce thicker, longer hair. Warm water has the opposite effect.
Use the coldest water available. In summer, some exhibitors add ice to stock tanks or use well water (which stays naturally cool) rather than sun-warmed hose water.
The Blowing Technique
After rinsing, blow the hair dry using a livestock blower (not a household hair dryer, which lacks the airflow needed for cattle hair). Hold the blower close to the hide at a 45-degree angle, directing hair forward toward the animal’s head.
Use a concentrator nozzle to focus the airflow. Work systematically from the belly up to the topline. The topline hair should be trained to stand straight up, creating the appearance of a level, thick back. Side hair should be trained to project outward, adding apparent body depth and dimension.
The rule of thumb: Once you think the animal is dry, blow for 15 more minutes. Residual moisture near the skin will cause the hair to fall flat after you stop, undoing your work.
Clipping: Where Skill Separates Beginners from Experienced Fitters
General Principles
Clipping enhances the animal’s natural conformation by removing excess hair from areas where you want to show clean lines, and leaving hair where you want to add visual dimension.
Before you clip:
- The animal must be clean and dry. Clipping a dirty or damp coat dulls blades quickly and creates uneven lines.
- Use sharp blades. Dull blades pull hair instead of cutting it, causing discomfort and missed spots.
- Know the animal’s strengths and weaknesses before you start. Clipping is about enhancing structure, not just making the animal look neat.
- Practice on non-show animals first. Your first clipping job should not be on the animal you are taking to the show.
Common Clipping Areas
Head and ears: Most beef breeds are shown with a clipped head. Use small clippers (#40 blade or finer) to clean up around the ears, poll, muzzle, and jaw. The degree of head clipping varies by breed (see breed-specific section below).
Belly and underline: Clip the belly to create a clean, straight underline that emphasizes depth and capacity. Blend from the clipped belly into the longer side hair gradually, with no visible line.
Legs: Leg fitting varies by breed. For most beef breeds, the goal is to create the appearance of straight, correct legs with adequate bone. Adhesive and combing products are used to build up leg hair after clipping.
Tail: The tail head is usually blended with the topline and rump. The tail switch (the hair at the end of the tail) is washed, conditioned, and teased out to full volume.
find breeders in your area on Creatures who specialize in show-quality animals. Create a free Creatures account to connect with experienced exhibitors.
Blending
The mark of a skilled fitter is invisible transitions. Where clipped areas meet natural hair, the blend should be gradual and seamless. Use longer guard combs on your clippers to create intermediate lengths, and use a blending comb and scissors for fine work.
Rushed blending is the most common visible mistake at shows. Judges may not consciously score fitting, but a poorly blended clip job creates a choppy appearance that distracts from the animal’s actual conformation.
Breed-Specific Fitting
Angus and Other British Beef Breeds
Angus, Hereford, Shorthorn, and similar British breeds are typically shown with a full fitting that includes head clipping, body clipping and shaping, leg building with adhesive, and topline training. The goal is a smooth, well-blended animal that looks deep-bodied, level-topped, and well-muscled.
Angus: Clip the entire head. Black touch-up paint may be used on hooves. Long poll hair can be left and trained upward for a more prominent appearance.
Hereford: Do not clip the head (shown with full face hair on horned animals). Hereford-specific red touch-up products help maintain uniform color after clipping.
Shorthorn: Do not clip heads on horned varieties. Polled Shorthorns typically keep long poll hair pulled up. Tail presentation requirements differ from other breeds.
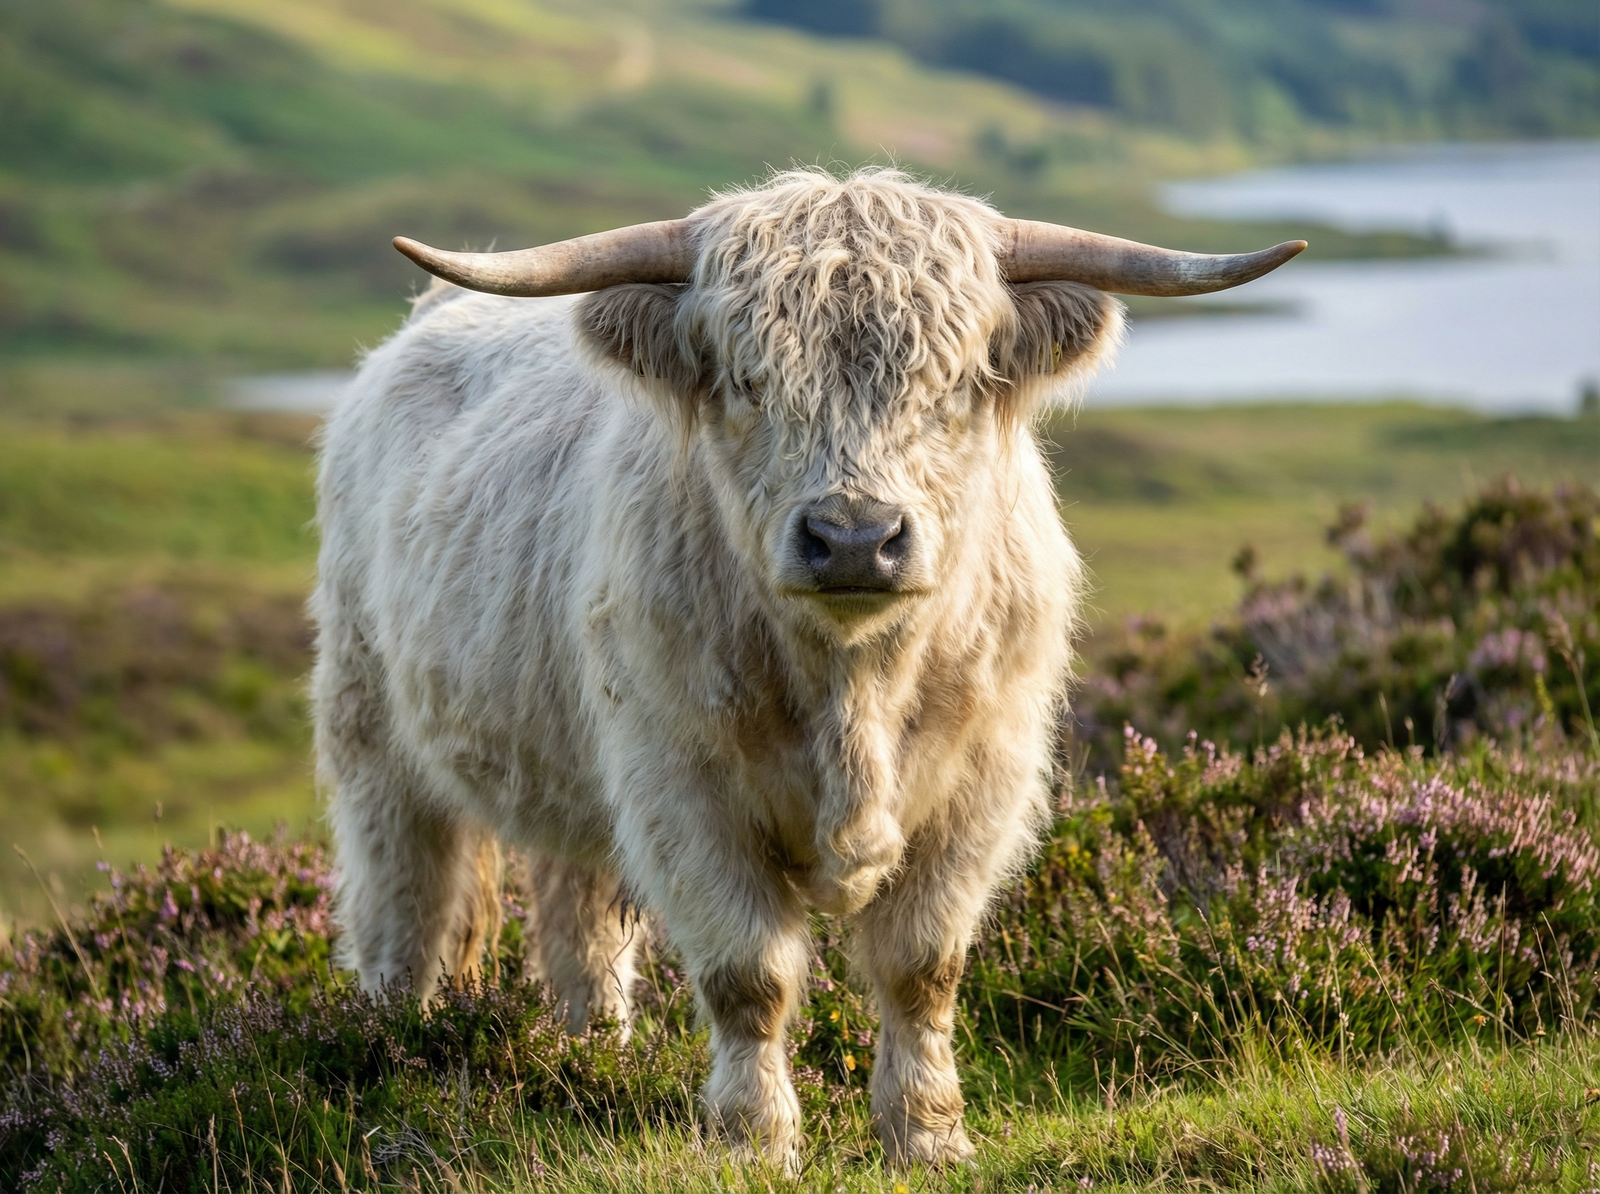
Highland Cattle
Highland cattle fitting follows a fundamentally different philosophy from mainstream beef breeds. Highlands are shown in their natural state, with emphasis on the long, wavy double coat that defines the breed.
Key points for highland fitting:
- The coat should be wavy, not curly. Curly hair is considered a fault in the breed standard.
- The dossan (forelock between the horns) should be wide, thick, and long enough to reach the muzzle. It is the breed’s signature feature.
- Heavy clipping and adhesive-based fitting common in mainstream breeds is not done on highlands. Grooming focuses on washing, brushing, and conditioning the natural coat with oils to achieve a full, healthy appearance.
- Horns are part of the breed standard. AHCA rules prohibit dehorning of purebred breeding animals shown in breed classes.
- Minimal trimming is acceptable around the ears, poll, and underline for neatness, but the overall presentation should be natural.
Market Steers
Market steers may be shown slick-shorn (completely clipped to the skin), blow-and-show (washed and blown out without adhesive or heavy fitting), or fully fitted depending on the show rules. Check the specific show’s requirements before deciding on your fitting approach.
The trend toward blow-and-show formats at many fairs and junior shows reflects a desire for judges to evaluate the actual animal rather than the fitter’s skill with adhesive and clippers. For new exhibitors, blow-and-show shows are a good starting point.
Products and Equipment
Essential Equipment
- Livestock blower: A high-velocity blower designed for cattle. Household hair dryers do not have adequate airflow. Sullivan Supply, Weaver Livestock, and other show supply companies sell purpose-built blowers.
- Clippers: A large-body clipper for body work and a small trimmer for detail work around the head and ears. Keep multiple sets of sharp blades.
- Combs: A scotch comb (wide-tooth metal comb for pulling and training hair), a fluffer comb (for lifting and separating hair), and a rice root brush (for final grooming).
- Show stick: Used in the ring to position the animal’s feet and maintain posture. Learn to use it during daily halter training, not for the first time at the show.
- Fitting mat: A rubber mat for the animal to stand on during fitting, providing comfort and traction.
Adhesives and Grooming Products
Adhesive products are used to build up and shape hair on the legs, belly, and other areas. They create volume and structure that enhances the animal’s appearance. Common products include:
- Base adhesive: Applied first to build foundation. Products like EZ Comb provide a workable base layer.
- Holding adhesive: Layered over the base for stronger hold. Prime Time and similar products provide the structure.
- Sheen and conditioning sprays: Applied to the coat for a healthy gloss. Kleen Sheen and similar products repel dirt and add shine without buildup.
- Touch-up paints: Available in breed-specific colors (black, dark cherry, rust, cinnamon, fawn, smoke gray, white) for blending clipped areas. Should not break down adhesive.
- Adhesive remover: Citrus-based removers dissolve adhesive after the show. Let the remover sit for 5 to 10 minutes before washing with mild shampoo.
Major show supply brands include Sullivan Supply, Weaver Livestock, and Cowtown. Most products are available through these companies directly or through livestock supply retailers.
Common Fitting Mistakes
Starting Too Late
The most common mistake by far. Families reaching out to buy show calves after everything has been sold, or starting grooming two weeks before the show when proper coat development takes three to four months. Good fitting cannot compensate for a poor coat that was not cared for early enough.
Over-Fitting Practice Animals
Practicing adhesive application repeatedly on the same animal can cause leg hair to break off and thin out. Practice technique on non-show animals, and reserve full adhesive fitting for the actual show or a dress rehearsal close to show day.
Clipping Without Understanding the Animal
Every animal has strengths and weaknesses. Fitting should enhance the strengths and minimize the weaknesses. Clipping a topline on a steep-rumped animal without understanding how to blend the hip correctly will only draw attention to the fault. Study the animal’s conformation before picking up the clippers.
Rushing the Process
Fitting takes time. Rushed clipping produces poor blending. Rushing adhesive application produces lumpy, uneven leg hair. Rushing the blow-out produces a coat that falls flat in the ring. Build adequate time into your show day schedule.
The Ethics of Fitting
Fitting exists on a spectrum from basic grooming (washing, brushing, trimming) to elaborate manipulation (adhesives, paints, pumping air under the skin). The cattle show community actively debates where the ethical line falls.
Most breed associations and shows prohibit practices that fundamentally alter the animal’s appearance or deceive judges about the animal’s actual structure. “Airing” (pumping air under the skin to create artificial fullness) is universally condemned and grounds for disqualification.
The general principle: fitting should present the animal at its natural best, not create a false impression. Judges with experience can see through over-fitting, and a reputation for deceptive practices follows exhibitors far beyond any single show. In the long run, honest presentation builds the trust that sells breeding stock.
Learning Resources
Fitting is best learned hands-on, but several resources can help you develop skills before show season:
- Stock Show University (Sullivan Supply): Free on-demand video tutorials covering clipping, blowing, adhesive application, and breed-specific techniques. Also hosts free two-day Cattle Grad Programs in person.
- Cattle ProTips (Weaver Livestock): Video library featuring experienced fitters demonstrating topline clipping, tail fitting, leg building, and showmanship.
- Your local breeder community: The breeder you purchased your show animal from is often your best resource. Most are willing to demonstrate fitting techniques and help you prepare for your first show.
- County and state fitting clinics: Many extension offices and breed associations host pre-season fitting clinics. These hands-on sessions are invaluable for beginners.
Frequently Asked Questions
How long does it take to fit a show animal on show day?
Plan for 45 minutes to 1.5 hours depending on the breed, the level of fitting required, and your experience. A simple blow-and-show preparation is faster. A full adhesive fitting with clipping touch-ups takes longer. Having a helper speeds the process significantly.
Can I show without using adhesive?
Yes. Many shows, particularly county fairs and junior shows, operate under “blow-and-show” or “slick-shear” rules that prohibit or limit adhesive use. Even at shows that allow adhesive, a clean, well-groomed animal presented without adhesive can compete effectively, especially in breeding classes where judges prioritize the actual animal over presentation tricks.
What if I make a clipping mistake?
Hair grows back. If you clip too short or create an uneven line, the hair will recover, though the rate depends on the season and the animal’s genetics. This is why the recommended timeline calls for clipping 7 to 10 days before the show, giving you time for corrections. For the first year, consider hiring an experienced fitter to do the initial clip while you watch and learn.
Is professional fitting worth the cost?
For your first year, having a professional fitter (or an experienced mentor) handle the clipping while you learn is a smart investment. Most charge $50 to $150 per animal depending on the breed and level of fitting. After watching a professional work through one or two shows, you will have the knowledge to take over yourself.
Next Steps
- Create profiles for your show animals on Creatures and update them with show results and photos after each event.
- Connect with breeders and exhibitors in the Creatures directory to find mentors and fitting resources in your breed.
- Browse the Creatures Marketplace for show-quality animals from breeders who document their programs and results.